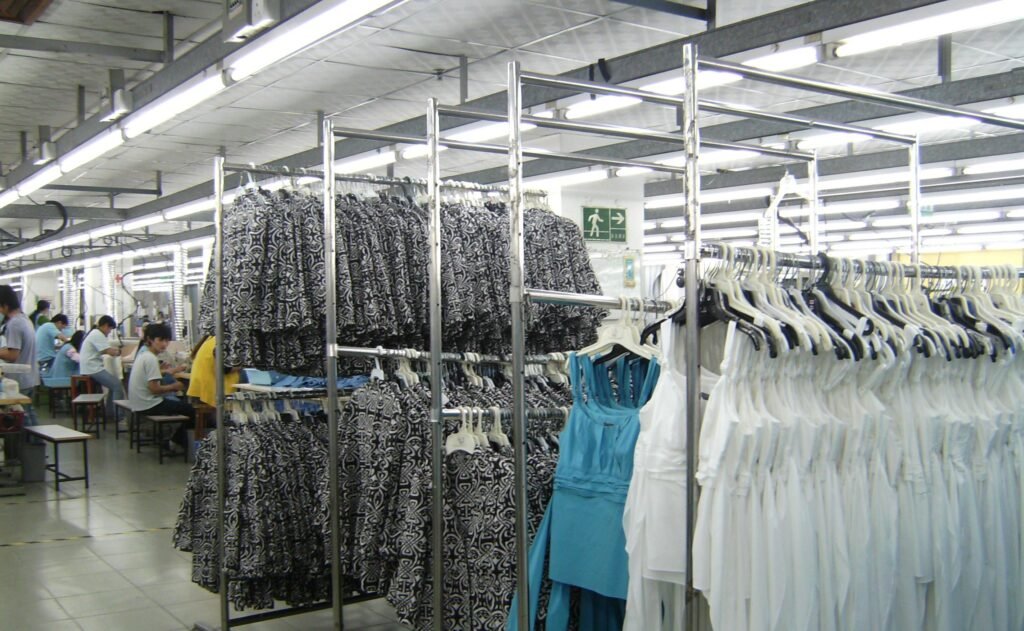

A garment sample may look correct when made by an experienced sample-room operator, but the same style can behave differently when several operators produce it on a line. A pilot run is a controlled trial that checks whether the approved construction, materials, machines and work instructions can be repeated under the planned production conditions.
1. Prepare before the pilot
- Use the latest approved sample, tech pack, pattern and measurement chart.
- Confirm fabric, lining, interlining, thread, labels, zippers, buttons and other trims match the approved bill of materials.
- Check that material lots and shades are identified and that any outstanding approvals are closed.
- Prepare operation breakdown, machine list, attachments, folders and special guides.
- Identify critical-to-quality points such as seam strength, appearance, measurements, symmetry and special construction details.
2. Choose a useful pilot quantity
The quantity should be enough to expose repeated issues across the main operations, but there is no universal number for every style. Agree the quantity with production, technical and quality teams based on style complexity, order risk and the buyer’s requirements. Record the actual number started, completed, inspected, repaired and rejected.
3. Observe the line, not just the finished garment
Record operation sequence, machine type, attachment used, operator method, bottlenecks, handling difficulties and rework. Watch for operations where pieces accumulate, alignment is difficult, fabric stretches or components are easy to reverse. A pilot is not successful simply because a few finished pieces look acceptable; the method must be repeatable.
4. Measure and inspect the output
Compare pilot pieces with the approved sample and measurement chart. Use the specified points of measure, garment condition and tolerances. Check construction, stitch formation, seam allowance, trims, labels, shade matching and appearance. Record defects by operation and count unique affected garments separately from total defect occurrences.
5. Correct and verify
For each significant issue, record the observation, affected quantity, likely cause or investigation status, corrective action, responsible person and due time. After changing a machine setting, attachment, pattern, instruction or handling method, inspect the next output to verify the change. Do not record a guessed cause as confirmed fact.
6. Bulk-readiness decision
Before bulk release, confirm that the approved materials are available, critical operations are understood, machine setup is defined, measurement results meet the agreed limits, recurring defects have been addressed and the relevant teams have accepted the pilot record. If an important issue remains open, record the risk and obtain the required buyer or factory approval before proceeding.
Copy-ready pilot report
Record: buyer / style / PO; sample and tech-pack revision; fabric and trim lots; pilot date and line; quantity started and completed; operation and machine setup; inspection quantity; measurements and defects; rework and rejects; corrective action / owner / due date; verification result; and bulk-release decision / approver.
Buyer takeaway: use the pilot to prove that the approved garment can be produced consistently with the planned line method. Keep the findings and release decision with the order records.
For ongoing production control, see our inline garment inspection guide and pre-shipment inspection checklist.