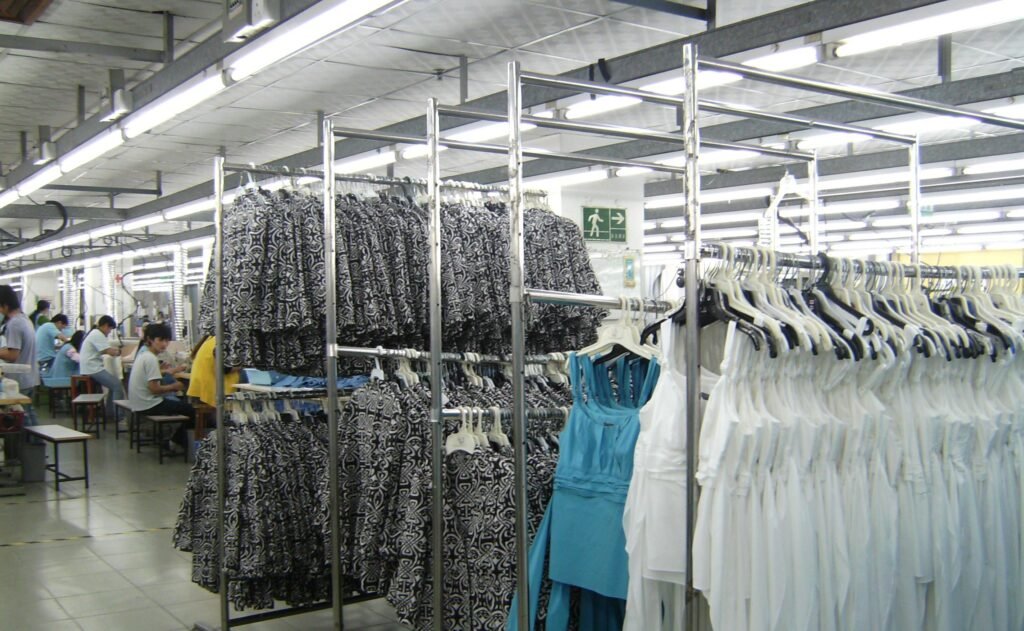

If a sewing defect is first noticed at final inspection, the same problem may already have passed through several operations and affected many pieces. Inline inspection moves the check closer to where the work is done. That gives operators and supervisors a chance to correct a machine, method or handling issue before it spreads. The sampling plan and acceptance limits should still follow the factory’s quality system and the buyer’s requirements.

1. Check the approved reference first
Before inspection begins, confirm the current approved sample, tech pack, measurement chart, construction details, trims and relevant workmanship standards are available at the line. Inspectors should not judge a garment against memory or an outdated sample. Record the style, colour, size, line and production date to maintain traceability.
2. Inspect construction and stitching
- Check seam alignment, seam allowance and stitch type against the specification.
- Look for skipped stitches, broken stitches, loose threads, seam puckering and open seams.
- Check backtacks and reinforcement at specified stress points.
- Inspect necklines, armholes, waistbands, cuffs, hems and other critical operations for evenness.
- Confirm labels, trims, fasteners and decorative elements are correctly positioned and securely attached.
3. Verify measurements at the right stage
Measure the specified points of measure using the buyer’s method and the correct garment condition. Check that the garment is laid flat without stretching, and use the same measurement reference consistently. Record actual measurements against the tolerance range; do not mark a measurement as acceptable simply because it looks close.
4. Check fabric, shade and appearance
Look for holes, stains, yarn pulls, needle damage, visible shade variation, print or embroidery issues and mismatched panels. Compare components under suitable lighting and follow the approved shade-segregation procedure where relevant. Defects that originate in fabric cutting or component preparation should be reported to the responsible process, not hidden by sewing.
5. Use a defect log that leads to action
A useful inspection record includes the style and operation, inspected quantity, defect type, defect count, severity or classification used by the factory, responsible process, corrective action, owner and recheck result. Separate an isolated defect from a repeated pattern. When the same issue appears repeatedly, stop and investigate rather than continuing to repair pieces one by one without addressing the cause.
6. Common causes and corrective checks
- Skipped stitches: review needle condition, thread path, machine settings and operator handling.
- Seam puckering: check thread tension, feed balance, needle/thread suitability and fabric handling.
- Uneven elastic: check attachment method, stretch ratio and operator guidance against the approved construction.
- Measurement variation: review pattern, cutting accuracy, seam allowance and measurement technique.
- Loose threads or poor trimming: clarify trimming standards and add a focused check at the operation where the defect occurs.
7. Recheck after correction
After a correction, inspect new output to verify the root cause has been addressed. If the defect affects already-produced pieces, identify the potentially affected quantity and follow the factory’s containment and reinspection procedure. Communicate significant or recurring issues to production, technical and quality teams so the action is consistent across shifts.
Inline inspection checklist
- Correct approved sample and current specification available.
- Critical sewing operations and reinforcement checked.
- Measurements recorded against the correct tolerances.
- Fabric, shade, trims and appearance inspected.
- Defects recorded with clear quantities and locations.
- Corrective action assigned and rechecked.
- Recurring issues escalated before production continues at scale.
A practical inline inspection report format
A checklist tells an inspector what to look for; the report should show what was checked, what was found and what happened next. Record enough information for the production team to trace a defect to the relevant style, line, operation and time. Use the buyer’s approved workmanship standard and the factory’s agreed control plan rather than assuming one sampling interval or acceptance limit applies to every order.
| Report field | What to record |
|---|---|
| Production identity | Date and time, buyer, style, purchase order, colour, size, line, shift and operation. |
| Reference | Approved sample or tech-pack revision, measurement method and the relevant workmanship requirement. |
| Inspection basis | Quantity produced, quantity inspected and the sampling basis or control-plan reference. |
| Finding | Defect name, exact location, unique pieces affected, total defect occurrences and the classification used by the buyer. |
| Containment and action | Potentially affected output, immediate containment, confirmed cause or investigation status, corrective action, responsible person and due time. |
| Verification | Quantity rechecked, result after correction, disposition of affected pieces and the person authorised to release production. |
Keep defective pieces separate from defect occurrences. If one garment has a skipped stitch and an open seam, it is one defective piece but two defect occurrences. If the factory reports a defective-piece rate, calculate it consistently: unique defective pieces divided by pieces inspected, multiplied by 100. For illustration only, 7 unique defective pieces in a sample of 140 gives 5%. Record the underlying counts as well as the percentage; a percentage without its sample size is difficult to interpret.
Use the buyer’s definitions for critical, major and minor defects, if that classification is part of the order. Do not create a new severity rule on the inspection sheet. Where the cause is not yet established, write “under investigation” and assign an owner instead of recording a guess as the root cause.
Copy-ready inline inspection record
The fields below can be copied into a spreadsheet or factory quality form. Add a separate line for each defect type so repeated problems can be counted and reviewed.
Date / time:
Buyer / style / purchase order:
Colour / size:
Factory / line / shift:
Operation:
Approved sample / tech-pack revision:
Production quantity:
Quantity inspected / sampling basis:
Defect type / location:
Unique defective pieces:
Total defect occurrences:
Classification (per agreed buyer criteria):
Affected output / containment:
Cause / investigation status:
Corrective action / owner / due time:
Quantity rechecked / result:
Disposition / release decision / approver:
For a broader review before shipment, use this record alongside the garment pre-shipment inspection checklist. Inline records help identify problems while sewing is in progress; they do not replace the buyer’s final inspection or agreed shipment-release procedure.
Practical takeaway: inline inspection works best when findings lead to a named action and a documented recheck. A completed form is not proof that a defect has been corrected; the follow-up result and disposition must also be recorded.