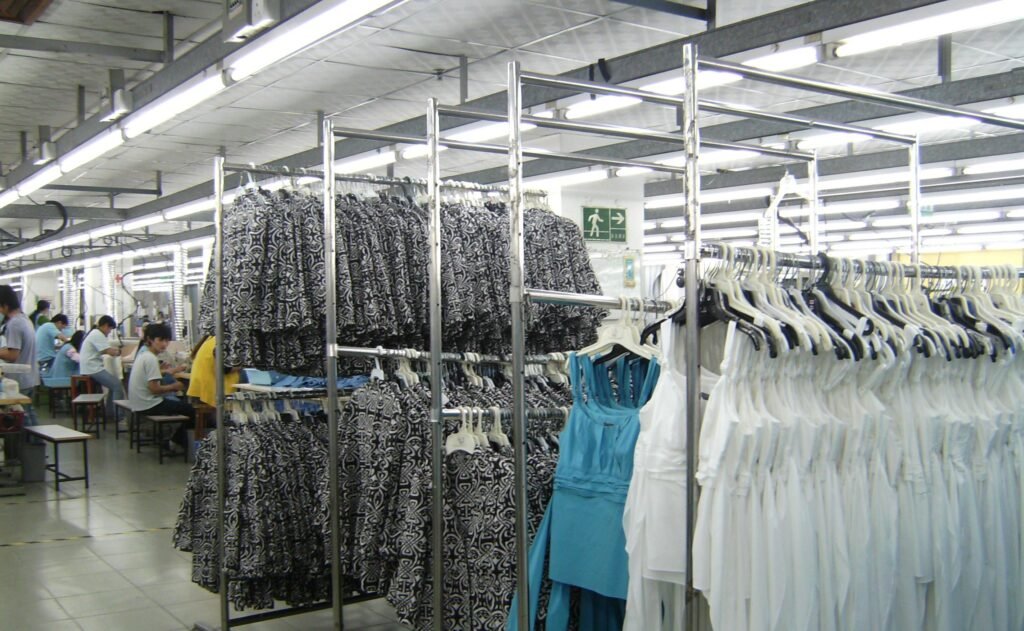
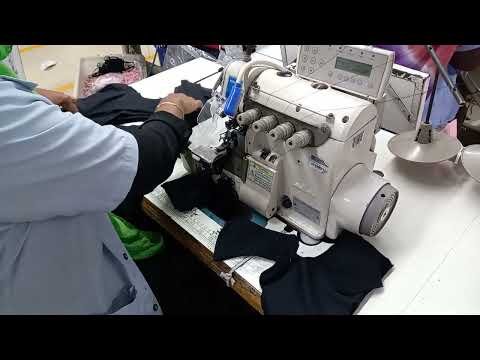
This guide brings the panty sewing operations into one place. Use it as a learning sequence for sewing operators, line supervisors and quality teams. The linked operation articles explain individual steps; always follow the approved pattern, operation bulletin, machine settings and buyer-approved sample for the specific style.
Important: panty construction varies by design, fabric, elastic type and sewing method. The sequence below is a general learning path, not a universal production method. Confirm the actual operation order from the style’s technical pack and factory line plan.
Step-by-step sewing sequence
Open each operation guide for its own explanation and workmanship checkpoints:
- Step 1: Join the front and back gusset — confirm the correct gusset pieces, face direction and seam alignment.
- Step 2: Attach elastic to the first leg opening — follow the approved elastic type, stretch ratio and attachment method.
- Step 3: Attach elastic to the second leg opening — keep the second opening consistent with the approved sample.
- Step 4: Join the first side seam and attach the label — verify label position and orientation before closing the seam.
- Step 5: Attach waist elastic — check even distribution and avoid unintended fabric stretching.
- Step 6: Join the second side seam and trim threads — check seam security and clean thread trimming.
- Step 7: Bartack at the leg and waist — place reinforcement only where specified and check that it is secure without damaging the fabric.
- Finishing option: Attach a bow — use the approved position and attachment method for styles that include a bow.
Quality checks during sewing
- Before sewing: confirm style, size, fabric, component bundle, approved sample, operation method and machine condition.
- Seams: check stitch formation, seam allowance, alignment, seam security, skipped stitches, broken threads and puckering.
- Elastic: verify the specified elastic width and type, consistent stretch distribution, secure attachment and balanced appearance. Do not invent a stretch percentage; use the approved specification.
- Labels and trims: check the correct label, position, direction, attachment and trim requirements.
- Reinforcement: confirm bartack location, stitch density and coverage against the approved sample or operation bulletin.
- Appearance: inspect for holes, needle cuts, stains, uneven gathers, exposed raw edges and loose threads.
- Measurements: measure the garment in the stated condition and at the specified points of measure, using the buyer’s tolerances.
Common defects and what to investigate
| Observed issue | Checks to make |
|---|---|
| Uneven leg elastic | Elastic feed, operator handling, attachment method, cut length and approved stretch ratio. |
| Wavy or puckered seam | Thread tension, differential feed, presser-foot pressure, needle/thread suitability and fabric handling. |
| Skipped or broken stitches | Needle condition and size, threading, timing, thread quality and machine maintenance. |
| Open side seam | Seam allowance, stitch formation, backtack or securing method and handling at the seam end. |
| Needle holes or fabric damage | Needle point and size, machine settings, fabric sensitivity and handling. |
| Incorrect label or bow position | Work instruction, placement template, bundle identification and first-piece approval. |
First-piece approval and inline control
When a style or operation starts, check the first completed pieces against the approved sample and operation requirements before allowing normal production to continue. Recheck after a needle change, machine adjustment, operator change or material-lot change where the factory control plan requires it. Record defects by type and operation, contain affected output, correct the cause and verify the next pieces.
Final inspection
Final inspection should confirm the finished garment against the buyer’s specification, approved sample, measurement chart, workmanship standard, labelling and packing requirements. It does not replace in-line checks: defects are cheaper to correct near the operation where they occur. Apply the buyer’s agreed sampling plan and acceptance criteria rather than using a universal sample size or pass rate.
This article is a navigation guide to the operation series. The individual linked pages contain the operation-specific notes and demonstrations currently available. Additional operations should be added only after the actual process and video have been checked.