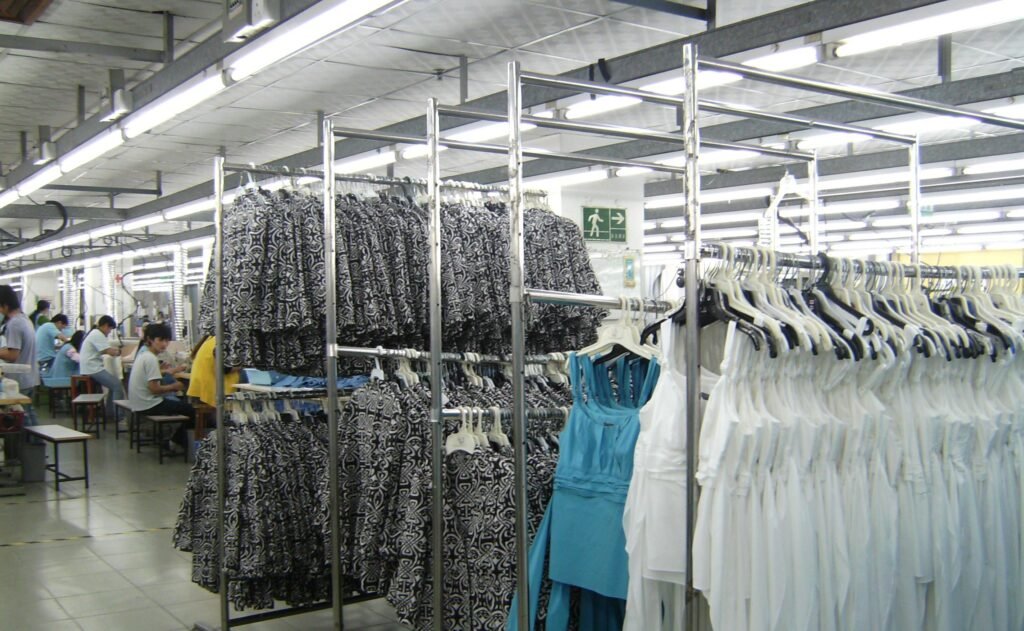

This guide explains how to make a T-shirt step by step, using the short video as a visual reference for a fast sewing workflow. The video title says “in 3 minutes,” but actual production time depends on the machine setup, operator skill, garment design, fabric, and whether cutting and preparation are already complete. Always follow the approved sample and factory work instructions.
Watch the T-shirt sewing video
Watch the demonstration first, then use the sequence and quality checkpoints below to understand the typical T-shirt assembly process.
Materials and preparation
- Cut front and back body panels, sleeves, and neck rib or neckband according to the approved pattern.
- Confirm fabric shade, size bundle, grain direction, and panel pairs before sewing.
- Prepare the specified thread, needles, overlock or serger, coverstitch machine, and any required label or trim.
- Check machine settings and stitch type against the fabric and approved sample. Stretch knits may need different settings from stable jersey fabrics.
Step-by-step T-shirt making process
Step 1: Join the shoulder seams
Place the front and back panels together with the correct faces aligned. Sew both shoulder seams using the specified stitch and seam allowance. If required by the design, apply shoulder tape or stabilisation to help prevent the neckline from stretching.
Step 2: Attach the neckband
Mark the neckline and neckband into matching sections if needed. Distribute the neckband evenly while sewing, following the approved stretch ratio. Avoid pulling the body neckline out of shape or stretching the neckband inconsistently.
Step 3: Attach the sleeves
Match each sleeve to the correct armhole, aligning notches and reference points. Sew the sleeve seam smoothly, keeping the fabric layers flat and checking that the left and right sleeves are correctly oriented.
Step 4: Close the side seams
Align the sleeve underarm and body side edges. Sew continuously from the sleeve area to the bottom hem if that method is specified for the style. Keep both sides balanced and avoid twisting, skipped stitches, or unwanted puckering.
Step 5: Finish sleeve and bottom hems
Turn the sleeve and bottom edges to the approved hem depth. Stitch with the specified coverstitch or other approved method, maintaining even width and stretch. Do not stretch the knit fabric while feeding it through the machine.
Step 6: Complete labels and thread trimming
Attach brand, size, and care labels at the approved positions if they have not already been applied. Trim loose threads without cutting the fabric or stitch line, then check the garment’s appearance and measurements.
T-shirt quality-control checklist
- Shoulder seams, armholes, side seams, and hems are secure and consistent.
- Neckband lies flat and has even stretch without waviness or twisting.
- Sleeves are matched correctly and both sides look balanced.
- No holes, stains, needle damage, skipped stitches, broken threads, or excessive puckering.
- Measurements, label position, size, and construction match the approved sample and specification.
- Fabric is not stretched or distorted, and thread ends are neatly trimmed.
Important production note
A short demonstration is useful for understanding the sequence, but it does not replace an approved operation bulletin, pattern, machine setup, or inline and final inspection plan. Sewing sequence and equipment may vary by T-shirt style, fabric weight, and factory line layout.
Explore more garment manufacturing guides
Explore our Garment Knowledge articles for sewing operations, workmanship checks, and garment quality-control guidance.