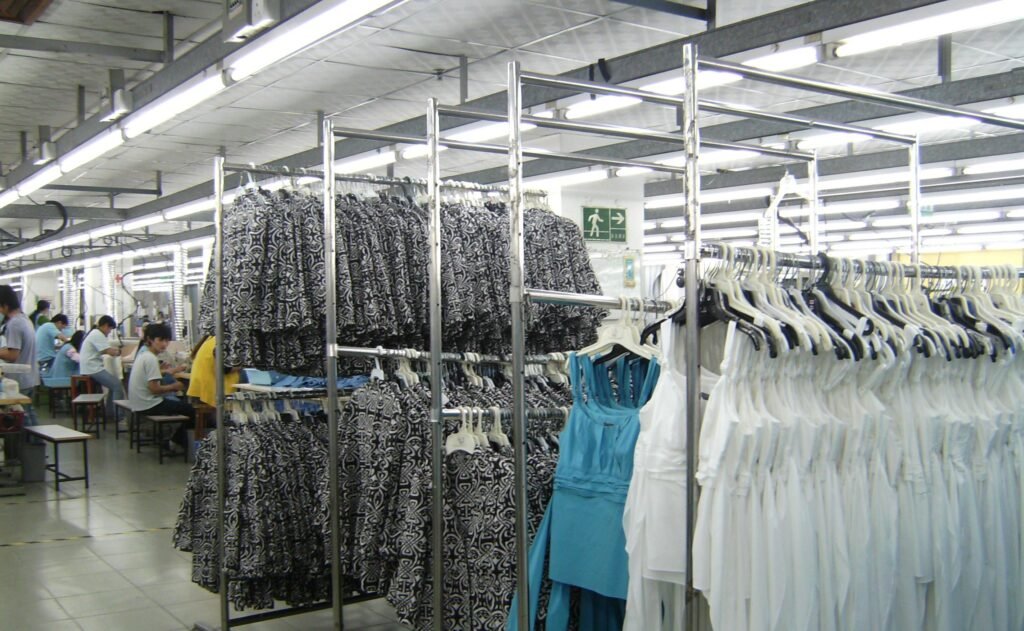
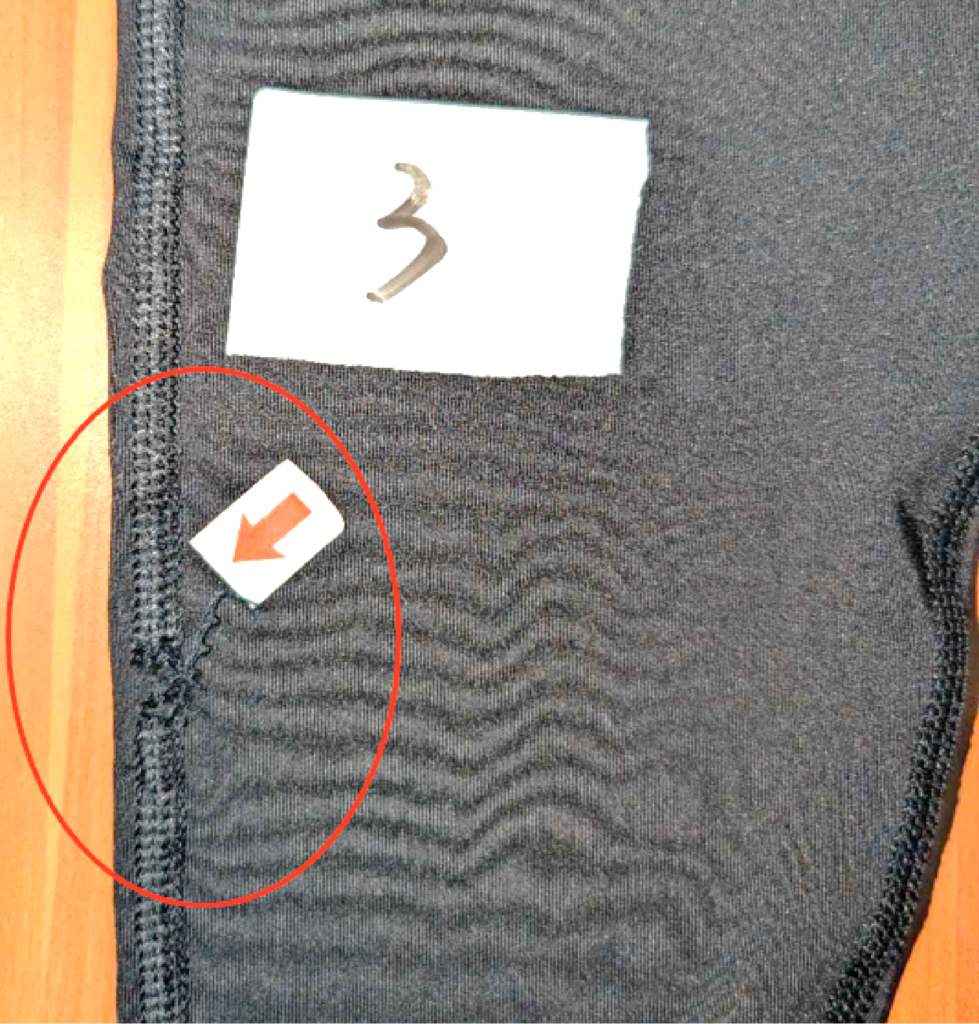
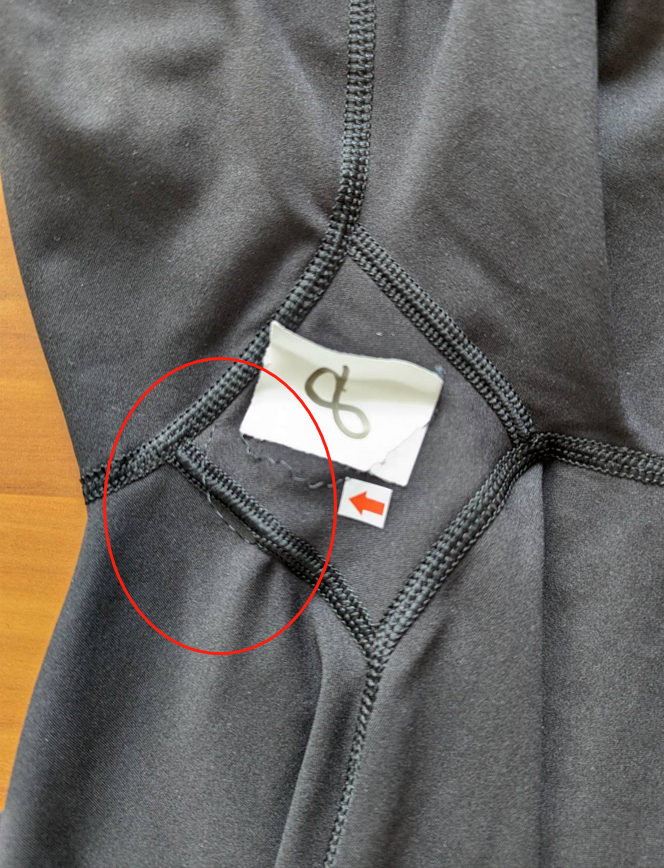
Garment seam defects can look similar even when their causes differ. A broken thread, an opening seam, a hole beside the stitch line, and fabric puckering each require a different check. The photos in this guide show garment inspection examples; the red circles and arrows point to areas to examine, but a photo alone cannot confirm why the defect happened.
1. Broken stitches and open seams
Several photos show openings or irregular stitching around side seams and seam junctions on knit garments. These areas can be vulnerable when the fabric stretches during wear or sewing, when several seam allowances meet, or when the stitch line starts or ends close to a stress point.
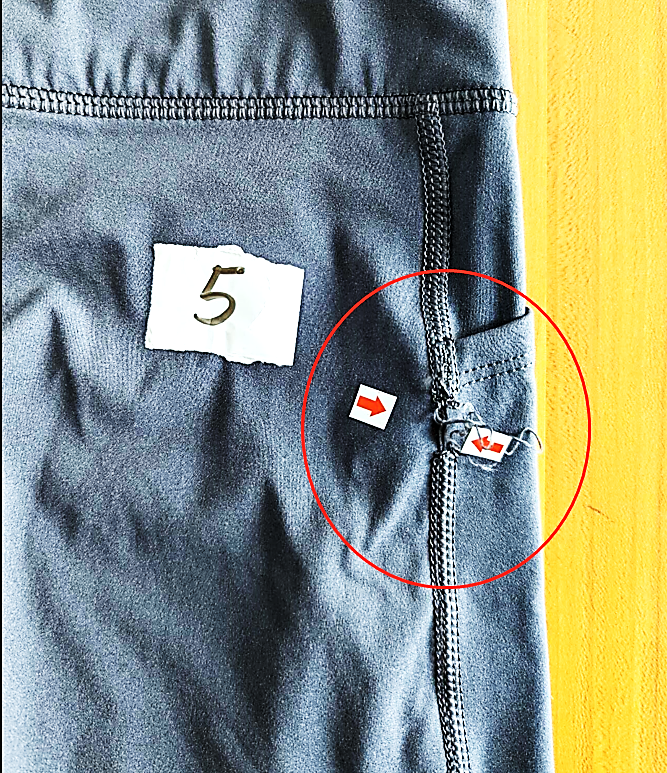
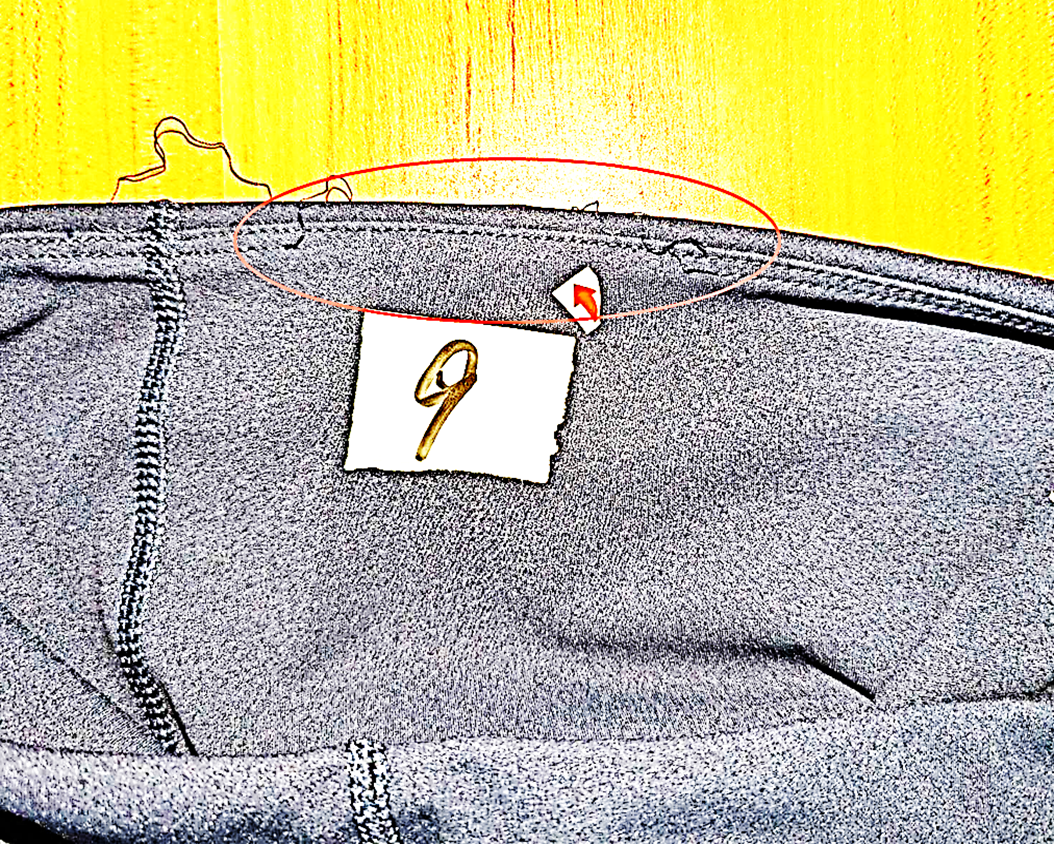
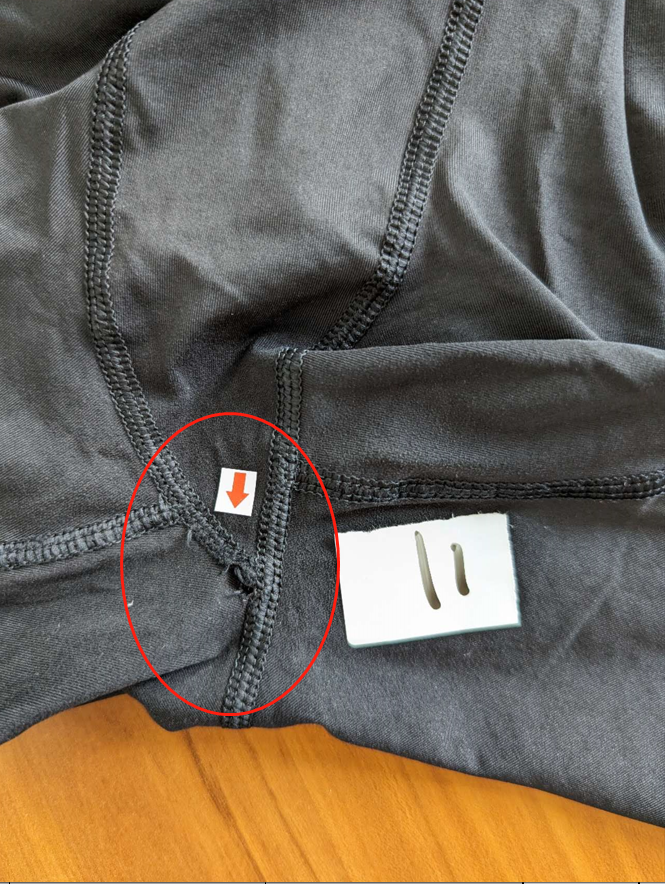
Possible causes to check: thread tension or feeding is unbalanced; a needle is damaged or unsuitable; stitches are skipped; the seam allowance is narrow or inconsistent; the fabric was stretched or shifted while sewing; or the stitch construction does not provide the required stretch. These are possibilities to investigate, not conclusions from the photographs.
2. Needle holes and fabric marks
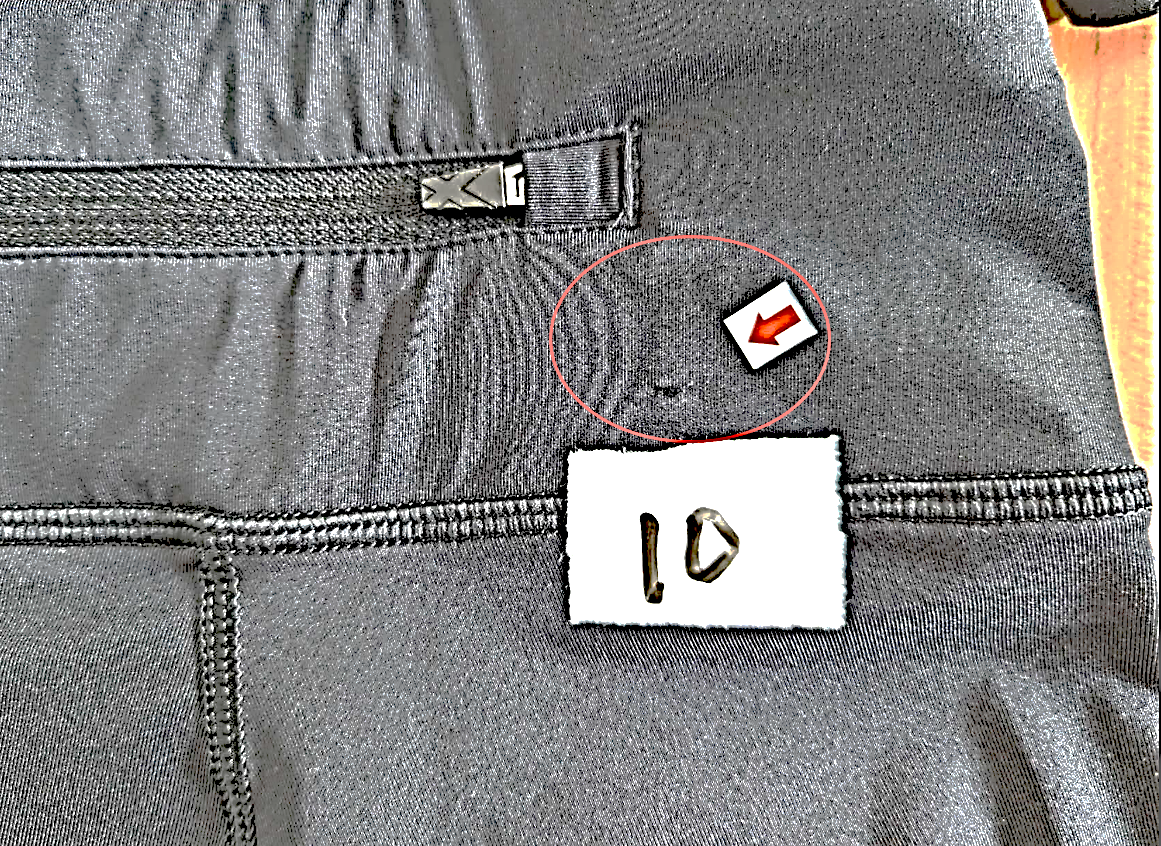
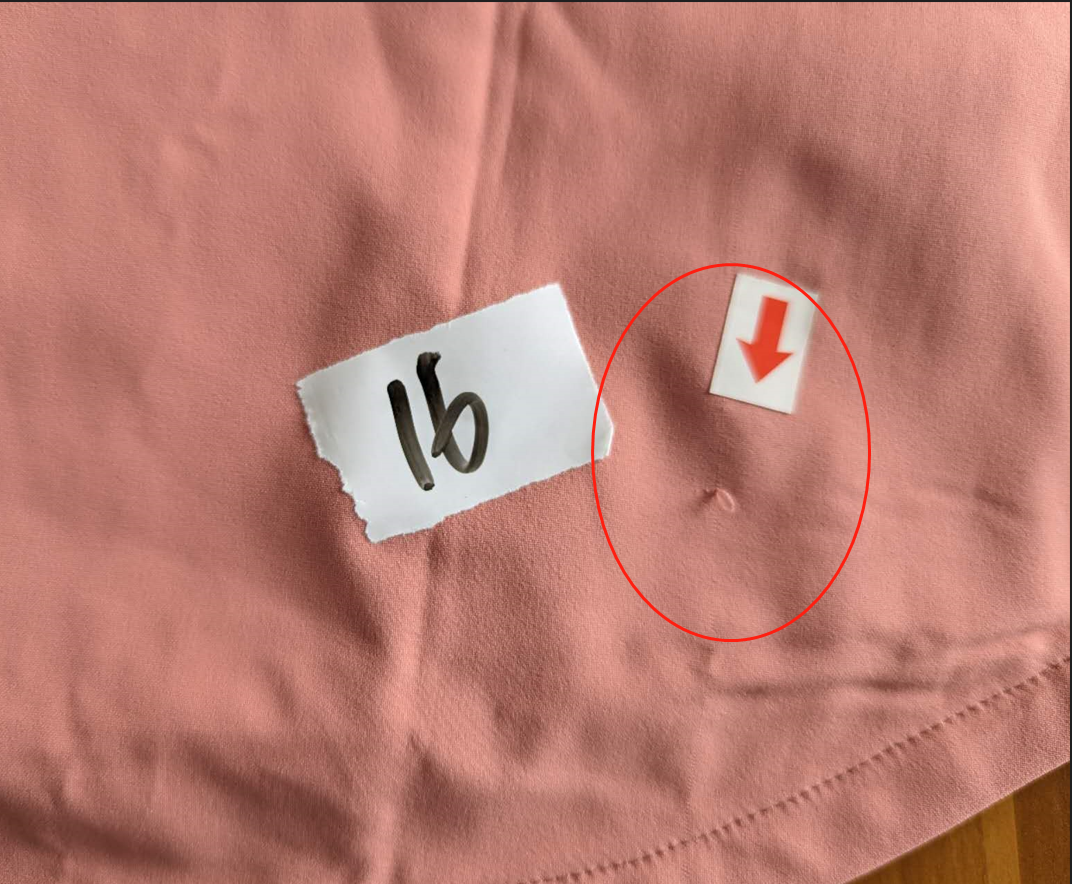
Small holes or marks beside a seam may come from needle damage, a burr on a machine part, an unsuitable needle point or size, repeated stitching, or fabric that is sensitive to needle penetration. First determine whether the mark is a hole through the fabric, a pulled yarn, a stain, or a surface crease.
3. Puckering or an uneven stitch line
If fabric gathers or ripples beside a seam, inspect thread tension, stitch balance, presser-foot pressure, feed settings, fabric handling, and whether the panels were matched to the pattern correctly. On stretch fabrics, pulling one layer more than another during sewing can create waves. The final photo shows an irregular area beside a seam; compare the marked region with the approved sample before deciding which machine setting to change.
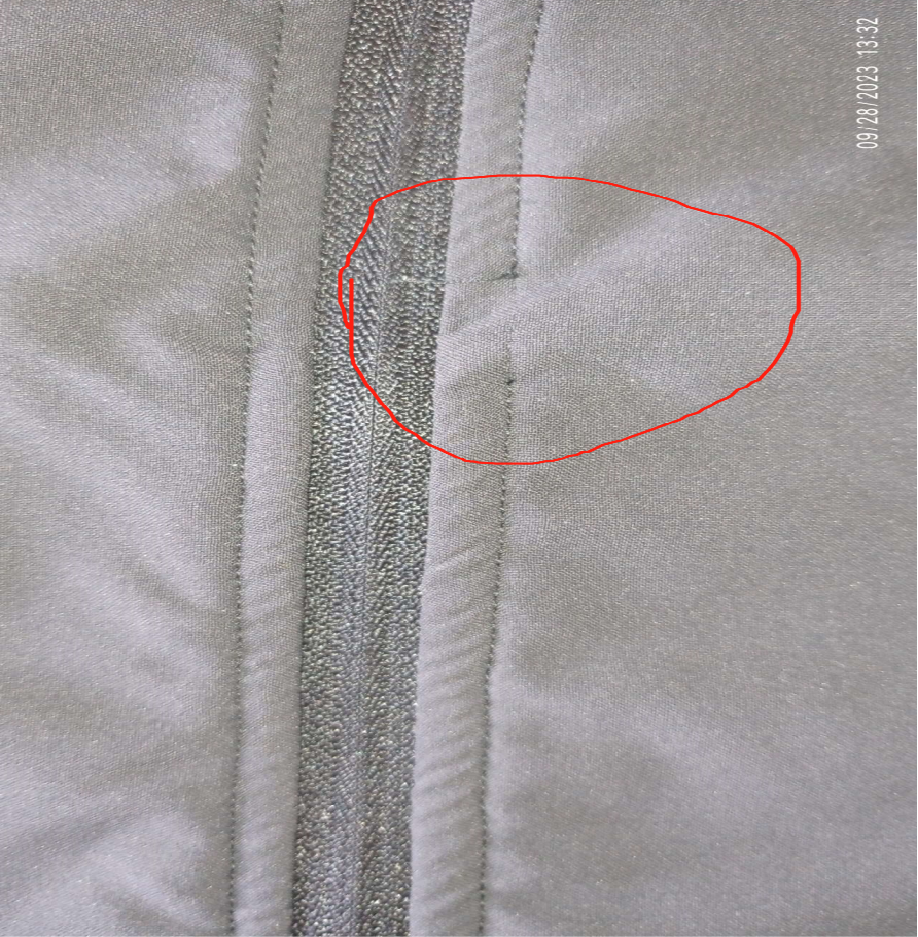
A careful diagnosis and correction process
- Keep the failed garment and identify the lot. Record the style, size, fabric lot, sewing operation, and defect location.
- Inspect under good light. Check whether the thread broke, the seam opened, stitches were skipped, yarns were cut, or fabric gathered. Compare with an approved garment of the same construction.
- Check the specification. Confirm the required seam type, stitch type, seam allowance, thread, needle, and stitch density in the tech pack. Do not assume a universal setting.
- Inspect the machine and materials. Check the needle condition and suitability, thread path, tension, feed, presser-foot pressure, and machine surfaces that contact the fabric. Have a qualified technician check timing or damaged parts when needed.
- Change one supported factor at a time. Test the adjustment on representative fabric or a sample garment. Secure seam starts and ends using the approved method for that construction.
- Verify before bulk production. Check stretch, seam appearance, and the agreed wash or wear requirements. Record the trial settings and result so the correction can be repeated.
What buyers and quality teams should avoid
- Do not increase thread tension just to make the seam look tighter; excess tension can reduce stretch and contribute to damage.
- Do not simply raise stitch density. Closely spaced needle penetrations can weaken some fabrics.
- Do not sew over a hole or opened seam before checking whether the surrounding fabric is already damaged.
- Do not approve a bulk-machine adjustment from one garment alone; confirm it on representative material.
Key point: Fix the confirmed cause, not only the visible defect. For stretch-garment examples, see our guides to crotch seam breaks on leggings and back seam stitch breaks. For project-specific construction requirements, contact our team.