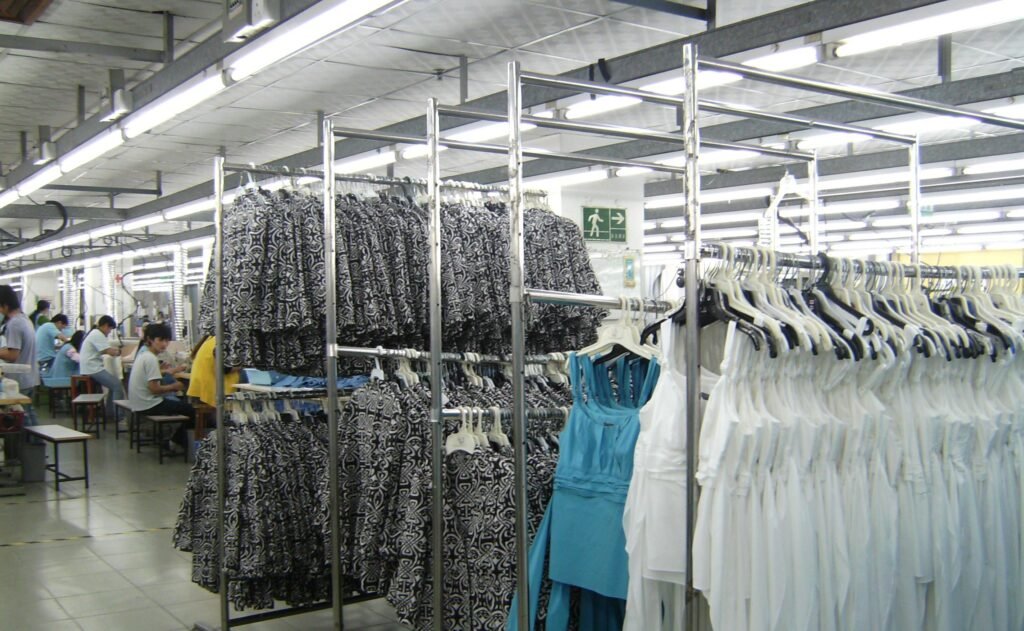
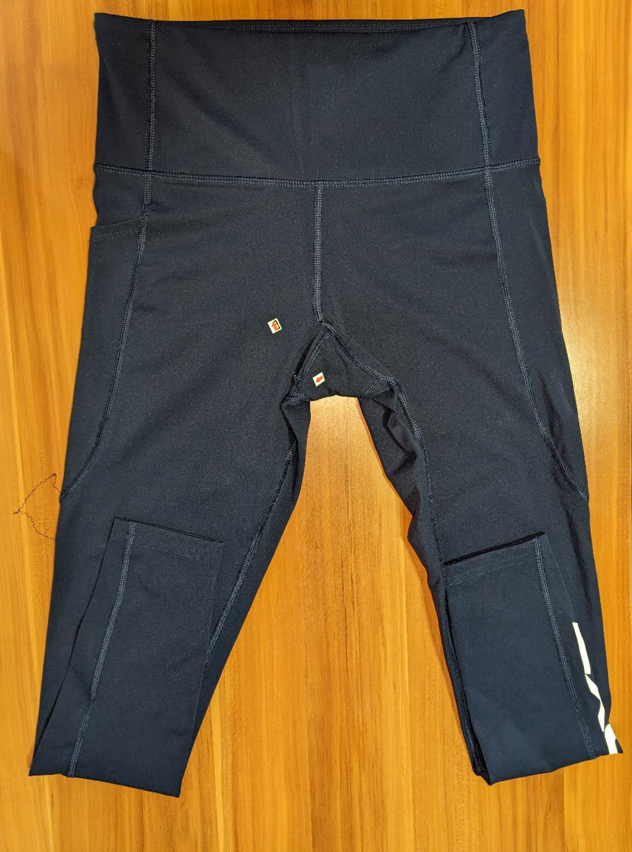
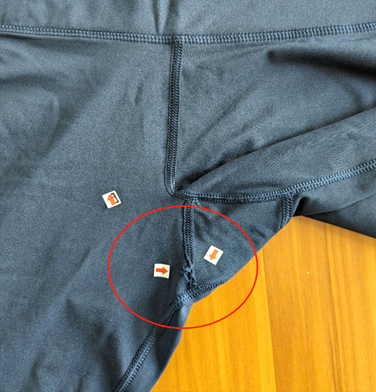
A broken crotch seam is a common, visible failure point on stretch leggings because several fabric panels meet in an area that moves and stretches during wear. The break may come from the sewing thread, the stitch formation, the seam construction, or damage to the fabric. The photos show the area to inspect, but the exact cause must be confirmed from the garment and its sewing records.
Photos: overall location and seam close-up
The first image shows the leggings laid flat, with markers near the crotch area. The second image is a close-up of the seam junction marked in red. Together they show where to inspect; they do not prove the cause of the break.
Why crotch seams break
- The stitch cannot stretch enough. A stitch type or thread arrangement that does not extend with the knit fabric can snap when the wearer bends, squats, or pulls the garment on.
- Incorrect thread tension or feeding. Excessive tension, uneven feeding, or poor stitch balance can make a seam tight and reduce its ability to stretch.
- Needle or thread mismatch. A damaged or unsuitable needle can cut or damage yarns. Thread that is unsuitable for the fabric or operation may also break during sewing or wear.
- Insufficient seam allowance or poor alignment. If the panels shift, the seam allowance becomes too narrow, or stitches run too close to the edge, the seam can open under strain.
- Fabric damage or weak fabric. Needle cuts, holes, snagged yarns, or a weak fabric area can cause failure beside the stitch line even when the thread itself remains intact.
- High stress at the seam junction. Several seams meet at the crotch. Uneven bulk, puckering, or an abrupt seam intersection can concentrate stress at one small point.
How to identify the actual failure
Start with the failed garment and an undamaged garment of the same style. Examine the seam under good light and gently open the area without pulling hard. Check where the failure begins and whether it follows the stitch line or runs through the fabric.
- Broken thread with fabric intact: review stitch stretch, thread, tension, needle condition, and stitch balance.
- Seam opening with stitches still present: check seam allowance, edge distance, panel alignment, skipped stitches, and stitch density.
- Holes or cut yarns beside the seam: investigate needle size and point, needle damage, machine timing, and fabric sensitivity.
- Fabric yarns slipping apart: review fabric construction and stability as well as seam allowance and sewing method.
Step-by-step correction
- Confirm the construction requirement. Check the approved tech pack for seam type, stitch type, seam allowance, thread, needle, and stitch density. Do not rely on an assumed setting.
- Inspect the machine and materials. Replace a damaged needle, verify that the needle and thread suit the fabric, and ask a qualified technician to check tension, feed, and stitch balance.
- Check seam handling. Confirm the panels are aligned, the seam allowance is consistent, and fabric is not stretched unevenly while being sewn.
- Make one controlled adjustment at a time. Use a representative fabric panel or sample garment. Change only the factor supported by the inspection, then compare the result with the approved construction.
- Test the sample under intended use. Check the seam during appropriate stretch and movement, then follow the brand’s agreed wash or wear evaluation where required. Record the result before changing bulk production.
Important setting caution
The supplied case note mentions 10–12 stitches per inch (SPI) and proposes 16–18 SPI, but its wording is unclear: it calls the first figure “too large” while suggesting a higher count. These numbers cannot be treated as a confirmed correction. Verify the intended value with the technical team and approved specification. Stitch density alone does not determine seam strength or stretch.
What to be careful about
- Do not simply increase SPI: stitches placed too close together can perforate or weaken some fabrics.
- Do not increase thread tension to make a seam look tighter; excess tension can restrict stretch and contribute to breakage.
- Do not sew over the damaged area without checking whether the fabric yarns are already cut or weakened.
- Do not approve a machine adjustment from one garment alone. Confirm the cause and trial the correction on representative material.
- Keep the failed sample and note the garment size, fabric lot, operation, defect location, and trial settings so the result can be repeated and checked.
Prevention during production
Use the approved needle, thread, stitch, and seam allowance for the fabric. Keep needles in good condition, maintain balanced tension and feeding, train operators to avoid stretching panels unevenly, and inspect early production garments at the crotch junction. If the same failure repeats, pause and investigate the process before continuing with the same setup.
Key point: Correct the cause of the failure, not only the visible opening. The right solution depends on whether the thread, stitch, seam construction, or fabric failed; confirm it with a controlled sample before applying the change to production.