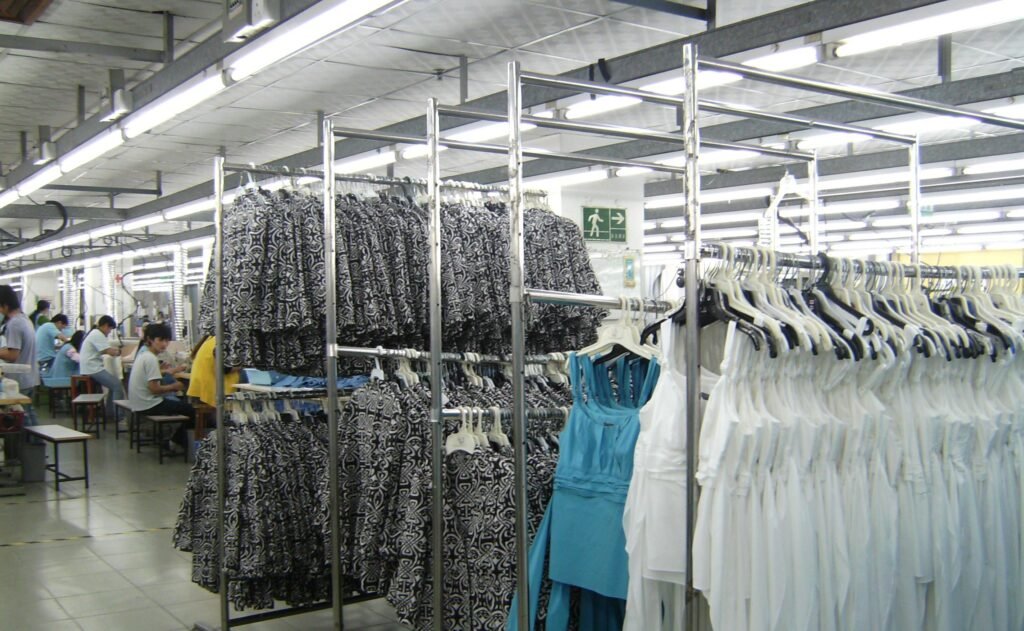

A seam opening in wear or during washing is not always a thread problem. The failure may come from stitch formation, seam allowance, needle damage, weak fabric or stress at a high-load point. Identify exactly what has failed before changing machine settings or adding more stitches.
Common causes
- Thread strength or type unsuitable for the seam and end use.
- Incorrect tension, stitch formation, or stitch density.
- Damaged or inappropriate needles creating thread or fabric damage.
- Insufficient seam allowance or unsuitable seam type.
- Stress concentration at pocket corners, crotch seams, closures, and other load points.
Prevent repeat failures at first-piece approval
Before bulk sewing, confirm the fabric, sewing thread, needle, stitch type, stitch density, seam allowance and machine setup together on a representative sample. Repeat the check after a material or component change, and record recurring defects by sewing operation so that the cause can be traced to the relevant machine, material or construction rather than treated as a general line problem.
Identify what has actually failed
An open seam is a symptom, not a diagnosis. Before adjusting a machine or changing thread, inspect the failed area and identify whether the thread has broken, a stitch has been skipped, the fabric yarns have shifted, or the fabric itself has torn. These failures can look similar from a distance but call for different corrective actions.
| Failure seen | What to look for | First checks |
|---|---|---|
| Broken sewing thread | One thread has snapped; the stitch line may loosen or begin to unravel. | Thread path, tension, needle eye and groove, burrs on machine parts, needle heat, and thread suitability. |
| Skipped stitch | The stitch interlock is missing even though the thread may remain unbroken. | Needle condition and insertion, needle-to-thread match, hook or looper timing, threading and fabric control. |
| Seam opening with stitches intact | The stitch line remains present, but the fabric opens or yarns move beside it. | Seam allowance, seam construction, fabric structure, yarn mobility and the load placed on that seam. |
| Fabric tearing beside the seam | Fabric yarns or the fabric body rupture close to the stitch line. | Fabric strength, needle damage, distance from the raw edge, stitch density and stress concentration. |
Keep the failed garment or panel intact until the cause has been recorded. Cutting away the damaged area too early can remove evidence of whether the thread, stitch formation or fabric failed first.
Check the needle, thread and machine as a system
Start with the simplest checks. Confirm that the machine is threaded correctly and that the needle is straight, correctly inserted and suitable for the fabric and thread being used. Inspect the needle eye, needle plate, hook, looper and thread guides for rough edges that can abrade or cut the thread. Check tension and stitch formation before changing several settings at once.
Needle size is a balance. A needle that is too fine for the thread can restrict thread movement and contribute to irregular stitch formation or breakage. A needle that is too large can leave visible holes or damage delicate and tightly constructed materials. AMANN’s technical guidance published on 22 July 2026 explains why needle size, thread thickness and material properties need to be considered together. See AMANN’s guide to choosing a sewing needle.
For recurring thread breaks or skipped stitches, review the thread path, tension discs, take-up, bobbin or looper condition, machine timing, presser-foot control and sewing speed. Coats’ sewing-problem troubleshooting guide sets out common checks for needle-thread breakage, bobbin or looper breakage, skipped stitches, variable stitch density and seam puckering. Use the machine manufacturer’s instructions and the approved production settings when making adjustments.
Do not treat seam slippage as a thread-break problem
When fabric yarns shift beside an intact stitch line, changing to a stronger sewing thread may not solve the problem. Seam slippage is strongly influenced by the fabric construction and the movement of warp and weft yarns under load. Seam breaking strength, by contrast, depends on the combined performance of the fabric, sewing thread, stitch and seam construction.
When a seam rupture test is needed
When the question is how much force a sewn seam withstands before it ruptures, use a seam tensile method rather than relying on a general fabric tensile result. ISO 13935-2:2026, Edition 3, specifies the grab method for determining the maximum force to seam rupture. ISO lists the edition as published on 22 April 2026 and records ISO 13935-2:2014 as withdrawn. The method applies to straight seams and uses a constant-rate-of-extension (CRE) testing machine. Its stated scope covers woven fabrics, including fabrics with stretch characteristics from elastomeric fibres or treatments; it is not normally applicable to nonwovens, coated fabrics, geotextiles and several other material groups. See the official ISO 13935-2:2026 entry for the complete scope and requirements.
Do not confuse seam rupture with seam slippage. ISO 13935-2 measures the maximum force to rupture a sewn seam; seam slippage concerns yarn movement beside the seam. For that different failure, see our guide to seam slippage and ISO 13936. In a buyer specification, identify the full test method and edition, the seam construction and sample, the required reporting basis, and the acceptance limit agreed for the product. There is no universal pass value that applies to every fabric and garment.
Depending on the garment and fabric, the corrective action may involve reviewing the seam type, seam allowance, stitch type, stitch density or fabric suitability. Increasing stitch density automatically is not a reliable fix: excessive stitching can damage some fabrics, create puckering or weaken the material along the needle line. AMANN’s technical explanation of seam stability distinguishes seam slippage from seam breaking strength and discusses the role of fabric and sewing parameters.
Use a controlled investigation before changing bulk production
- Record the failure. Note the garment style, operation, seam location, size, fabric lot and whether the defect appeared during sewing, inspection, wear simulation or washing.
- Inspect the evidence. Photograph the area and check whether the thread is broken, the stitch is missing, the yarns have shifted or the fabric has ruptured.
- Check the sewing setup. Record the needle type and size, thread specification, stitch type, stitch density, tension condition and relevant machine settings.
- Compare with the approved sample. Check the fabric, seam allowance, construction and stress-point reinforcement against the approved construction and buyer specification.
- Change one factor at a time. Make a trial on the same fabric and components, then inspect and test the corrected sample under the agreed conditions before releasing a bulk adjustment.
If seam strength is a contractual requirement, the buyer and supplier should agree the test method, seam assembly, specimen direction, conditioning, number of specimens and acceptance limit before testing. A fabric tensile result alone does not establish the strength of a sewn seam. Laboratory results should be interpreted against the specified method and should not be presented as a guarantee of actual garment wear performance.
What to include in a seam-failure report
| Record | Information to capture |
|---|---|
| Product and traceability | Style, colour, size, production line, fabric lot and inspection stage. |
| Failure description | Broken thread, skipped stitch, seam opening, yarn slippage or fabric rupture; include the exact location. |
| Sewing details | Needle type and size, thread specification, stitch type, stitch density and seam allowance. |
| Test and decision | Buyer-approved method, test direction, acceptance limit, result, corrective action and recheck status. |
For related problems, see our guides to common garment seam defects, seam puckering and fabric tensile and tear-strength investigation.
For production or fabric enquiries, share the garment type, fabric specification, failure location, required test method and order quantity through our contact page.